Nipitphon Na Chiangmai/EyeEm/Getty Photographs
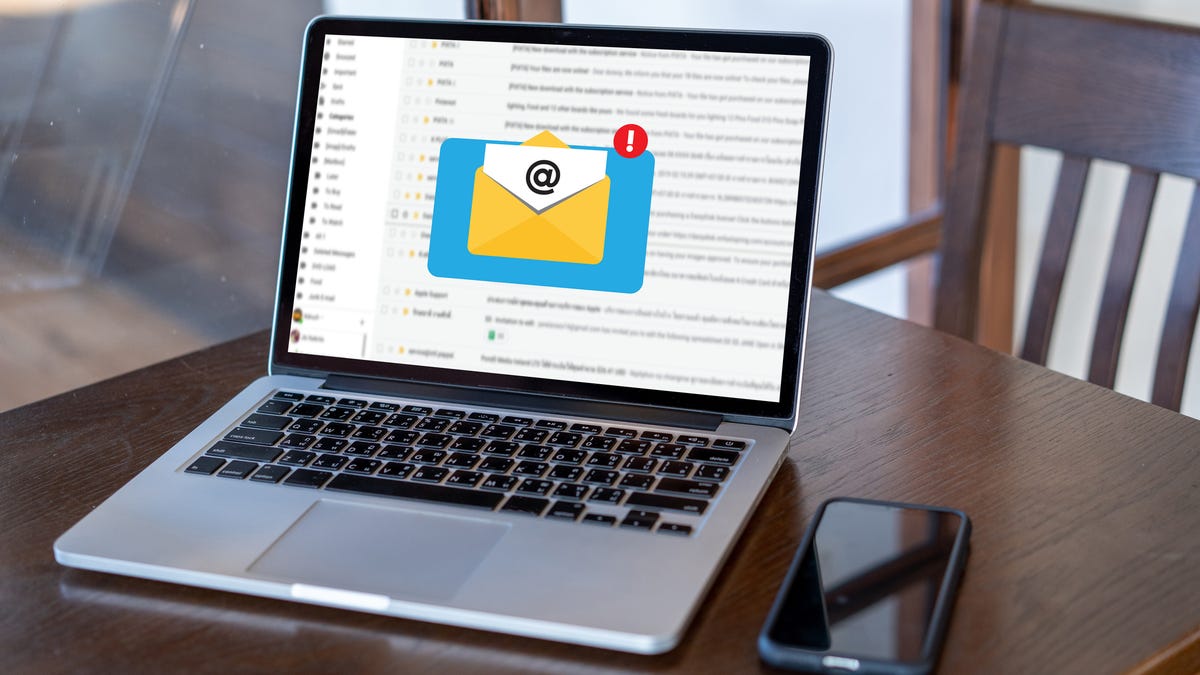
My numerous inboxes are continually bombarded with emails I’ve zero curiosity in studying. A part of the issue is that spammers have gotten actually good at circumventing spam filters. However one other situation is that so many e-mail shoppers don’t allow junk filters out of the field. For anybody who suffers by the standard deluge of junk e-mail, that is an issue.
Certain, it is not arduous to simply delete each irrelevant, offensive, or eye-roll-inducing e-mail that comes alongside. The issue is, when such a big share of your e-mail is junk, you may by accident (and recurrently) delete one thing that is truly necessary.
Additionally: How one can use Apple Mail Redirect (and when to not)
Ergo… spam programs.
As a result of Apple Mail on MacOS is a type of shoppers that does not allow junk filtering out of the field, I will present you find out how to do exactly that. I am going to additionally present you find out how to configure it such that spam may even mechanically be moved to the Junk folder, the place you may then comb by it (if needed) to make sure nothing of significance was by accident tagged as junk.
Enabling spam filtering in Apple Mail (MacOS)
What you will want: The one factor you will want is a MacOS machine with Apple Mail configured for no less than one e-mail account.
The very first thing to do is open Apple Mail after which click on Mail > Settings.
Accessing the Apple Mail Settings window from the menu bar.
Screenshot by Jack Wallen/ZDNET
Enabling spam filtering in Apple Mail on MacOS.
Screenshot by Jack Wallen/ZDNET
You’ll in all probability wish to allow Transfer it to the Junk mailbox underneath When spam arrives. In the event you try this, I might extremely advocate you allow the next:
Sender of message is in my Contacts.Sender of message is in my Earlier Recipients.Message is addressed utilizing my full title.Belief spam headers in messages.
The rationale you wish to allow the above choices is to assist forestall trusted emails from being marked as Junk.
Additionally: How one can shortly repair Apple Mail when it is not working
With out these choices enabled, it is very doubtless Mail will mark emails as Junk that may in any other case be trusted.
A helpful tip
Now that you’ve got spam enabled and configured, this is a tip that can prevent from numerous hairpulling. As a result of we have configured the spam filtering to skip an e-mail if the sender of a message is in your contacts, you will wish to be sure so as to add professional senders to your checklist of contacts. Doing that’s fairly easy. This is how.
1. Open an e-mail
The very first thing to do is open an e-mail from a professional contact.
2. Add the sender to Contacts
With the e-mail open, click on on the sender’s title and, from the drop-down, click on Add to Contacts.
Additionally: How one can block monitoring pixels on Apple Mail
That motion will add the sender to your contacts and assure any e-mail from that particular person or group won’t be moved to the Junk folder.
You must be sure all professional senders are in your Contacts.
Screenshot by Jack Wallen/ZDNET
And that, my associates, is all there’s to enabling and configuring the spam filtering in Apple Mail on MacOS. Take pleasure in that refreshingly clear inbox.